
* We independently evaluate all recommended products and services. If you click on links we provide, we may receive compensation.
A change of doorbell is required when your previous one is broken, unattractive, or simply old. Installing a doorbell may seem daunting at first, but it can easily be done with simple instructions. Different kinds of doorbells are available now, ranging from low-profile to smart ones. The smart or high-profile ones are often multi-purpose and do more than just ring; they are also security alarms, microphones, and messaging devices. They can also connect with other smart home devices such as Alexa. One such example is the Ring Video Doorbell.
Thus, once you have decided which doorbell you want to have in your new home or replace your old one, the next step is deciding whether you can install it as a DIY project. If you proceed to do it on your own, this article will guide you through the steps involved. While the installation is usually easy – unless the wiring is too complicated, or you are not replacing one but placing it in a new place –it can be done as a DIY project. However, rewiring can also sometimes be a daunting and tricky part.
Thus, if you feel it is too much for you, you should call an electrician, but you can do it all by yourself with some instructions and the right equipment.
You will need the following materials before you begin:
- Doorbell
- Current detector
- Screwdriver
- Power drill
We will break down the instructions for the doorbell and push-button installation step-by-step. The preliminary steps are the ones that need to be undertaken before the actual installation, followed by the doorbell and push-button installations.
- Preliminary Steps(Step 1)
- Installing a Doorbell (Step 2)
- Installing a Doorbell Push Button(Step 3)
- Test the Doorbell(Step 4)
Preliminary Steps (Step 1)
Before we install a doorbell, you need to make sure you follow the steps below to ensure a thorough and safe installation. As a beginner, you should not skip these steps as you can risk getting electrocuted.
Turn off the power
It is crucial to turn off the power supply connected to the doorbell system; otherwise, you will put yourself at risk of being electrocuted. Therefore, find the circuit breaker, locate the doorbell transformer and turn it off. However, if you cannot locate it or are unsure, you can use a current detector to check that the wires are not with power. Alternatively, you can also shut off the entire house’s power supply.
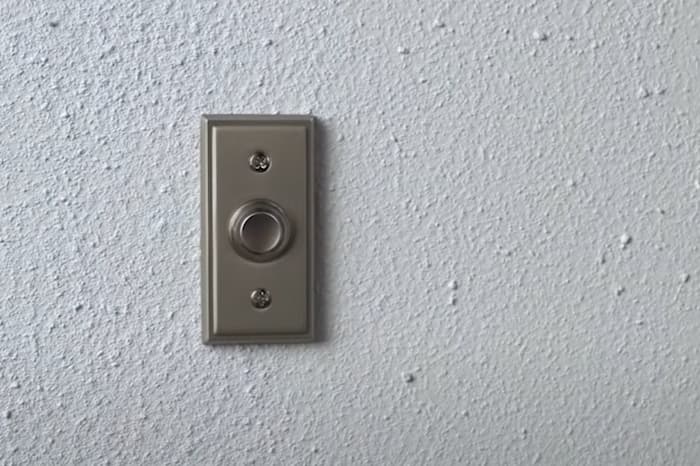
Remove existing doorbell
If you are replacing an old doorbell, use a screwdriver once the power has been turned off and unscrew the old doorbell system.
Detach the wires of the old doorbell
Once the doorbell has been removed from its place, detach the wires from their terminals and replace the new doorbell unit in its position.
Installing a Doorbell (Step 2)
After going through the preliminary steps and gathering the equipment mentioned in the list above, you can begin installing a doorbell. We have broken down the installation for both wired doorbells and wireless ones – so follow the ones that apply to the type of doorbell you have purchased.
Rewiring the new doorbell
Attach each wire of the new doorbell to each of the terminals and screw them in place. Then, with the help of a screwdriver, fasten the doorbell into its place. You can also use a drill if your wall is made of brick or masonry to tightly attach the doorbell in place – for a more secure fit.
Meanwhile, if you are placing an entirely new doorbell with no old one to replace, the wiring can be very tricky and thus best left for professionals. The electrician will better know the wiring and place a new transformer for the doorbell to work properly.
Installing a wireless doorbell
If you are tired of traditional doorbells and want one that is more tech-savvy, then there are a few additional things that you should know. With a wireless doorbell, the devices usually come with a magnetic base or an adhesive back which is used for mounting. The magnetic base allows you to place these doorbells on metal frames and gates. Before you mount them, though, you should clean the surface with alcohol as dust particles and prevent wet surfaces from sticking properly.
Allow the surface to dry and only then mount the doorbell fully. Another thing to be cautious about with wireless doorbells is Wi-Fi range limitations. This is because the chimes and the devices need to be in range. As there are no wires, they are battery-powered and have different battery lives, which means you will have to monitor their battery reserve and charge it every few months.
Installing a Doorbell Push Button (Step 3)
The doorbell is not the only thing that you need to install. Remember that doorbells ring an alarm when a button is pressed.
Thread the chime wires of the doorbell
First, un-tape the old wiring and thread them in the right holes located at the chime’s back. Once inserted, you can tape them while you perform the next steps to prevent losing them.
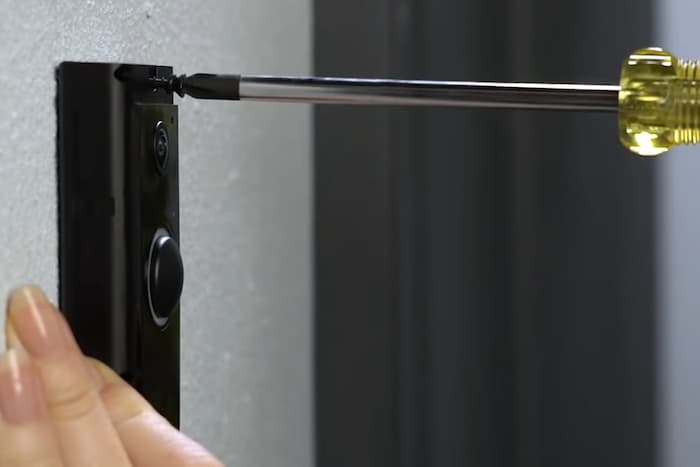
Screw the chime
Place the chime on the wall if it is the same size as the previous one. If it is different, then a power drill will be needed. Fit the screws in the holes of the chime, and with the help of a screwdriver or drill, screw and fit the chime in the wall.
Attaching the wires
Once the chime has been screwed in place, place all the wires in their corresponding terminals and tighten them with the help of a screwdriver.
Cover the chime
Position and place the cover on top of the chime, following the instruction manual that comes with the chime.
Test the Doorbell (Step 4)
Once the doorbell and Push-button have been installed, the next step is to test them both. First, turn the power supply on from the circuit breaker and press the push button to see whether the chime is working and is loud enough.
In the case of the wireless one, see if the Wi-Fi is properly connected and strong enough to be in range for the device.
We also recommend you to read our article about How to Install Security Cameras.


